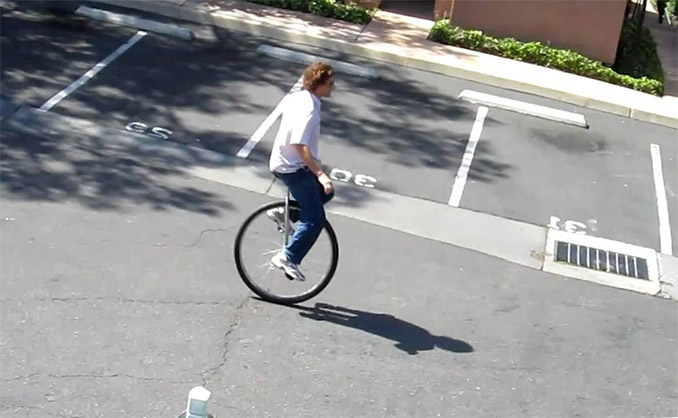
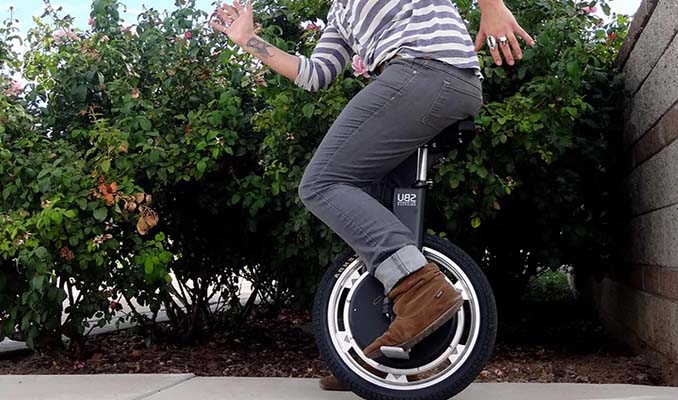
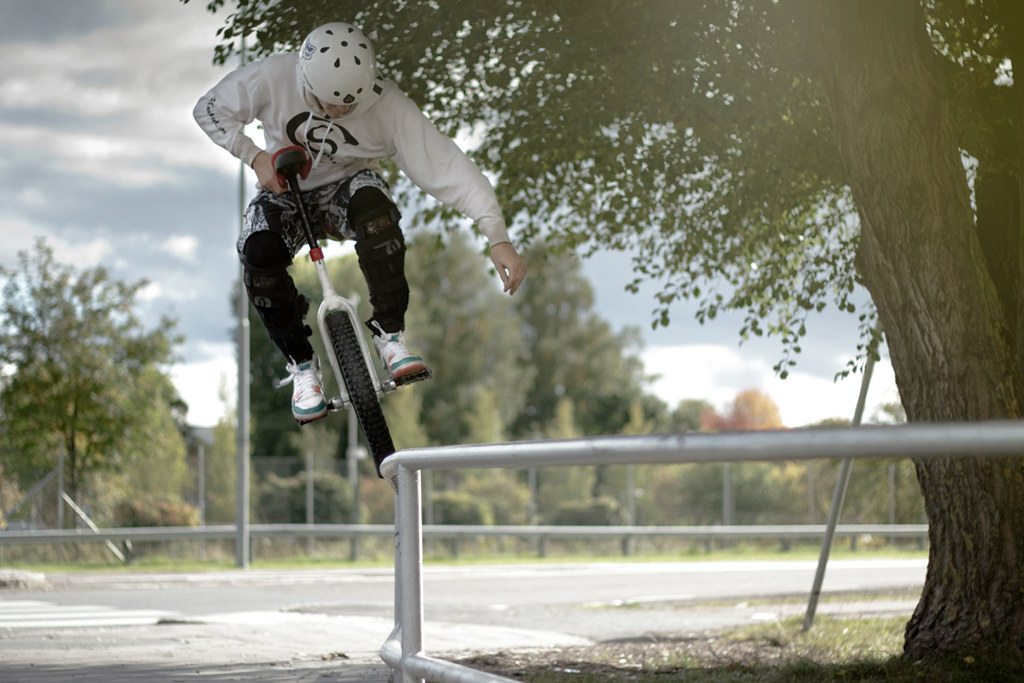
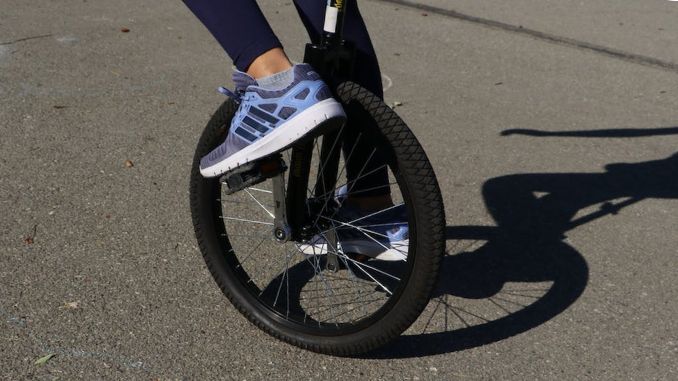
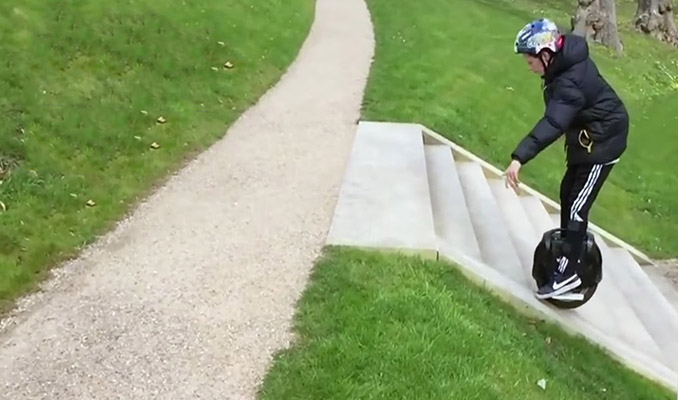
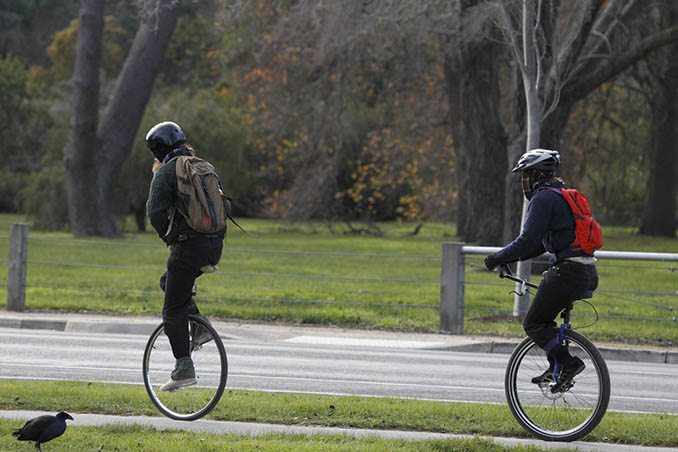
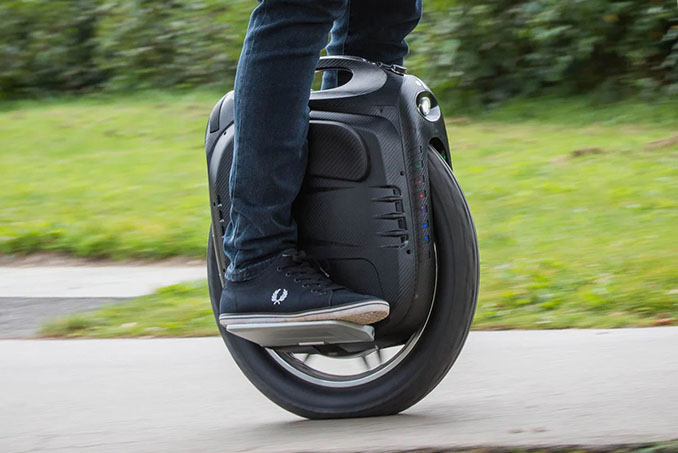
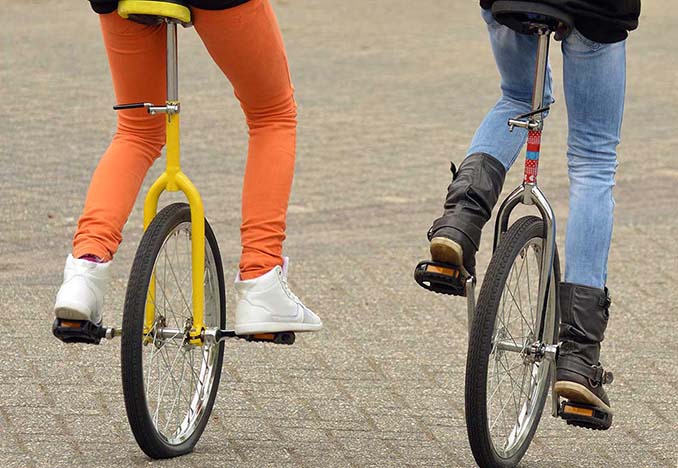
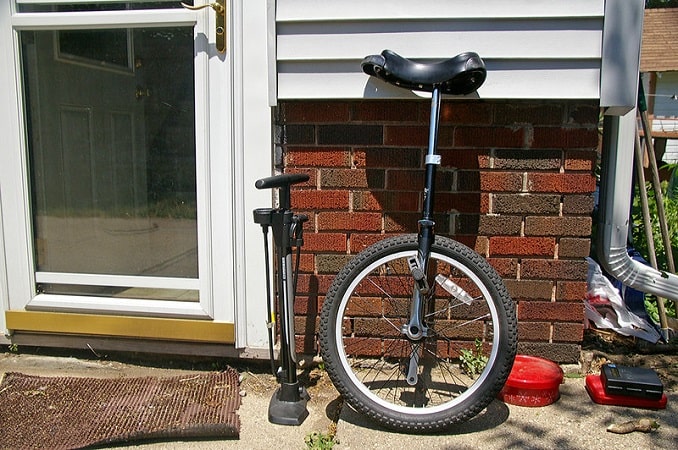
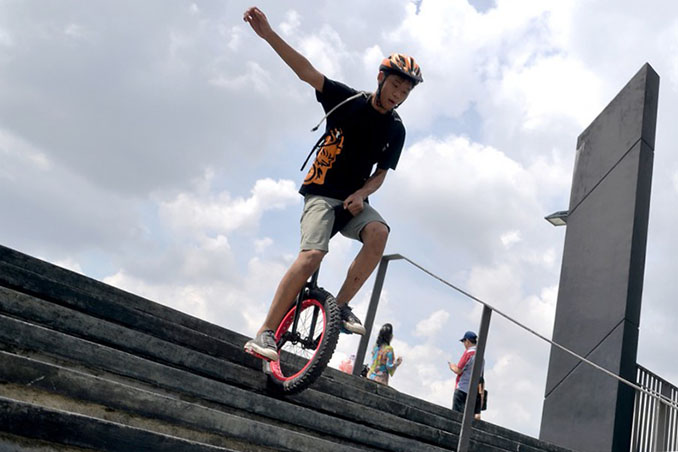
Watching skilled riders navigate the streets, parks, and trails on one wheel is both fascinating and impressive. But have you ever considered building your own unicycle?
Not only is it a rewarding DIY project, but it also allows you to customize your ride to fit your needs and preferences. In this guide, I will walk you through the step-by-step process of building your own unicycle.
Benefits of Building Your Own Unicycle
Building your own unicycle has several benefits. Firstly, it is a cost-effective way to get into the sport of unicycling. Purchasing a pre-made unicycle can be expensive, especially for high-end models. Building your own unicycle allows you to save money while still getting a quality ride.
It also allows you to customize your unicycle to fit your specific needs and riding style. You can choose the size of the wheel, the length of the seat post, and the type of saddle, among other things. Additionally, building your own unicycle is a fun and rewarding DIY project that will leave you with a sense of accomplishment.
Related:
Tools and Materials Needed for Building a Unicycle
Before you begin building your unicycle, you will need to gather the necessary tools and materials. Here is a list of what you will need:
- Unicycle frame
- Wheel hub and rim
- Cranks and pedals
- Seat post and saddle
- Fork crown race
- Bearing holders
- Bearings
- Spokes and nipples
- Wheel truing stand
- Spoke wrench
- Allen wrenches
- Grease
- Lubricant
You can find these materials at your local bike shop or online. Make sure you choose high-quality materials to ensure the safety and durability of your unicycle.
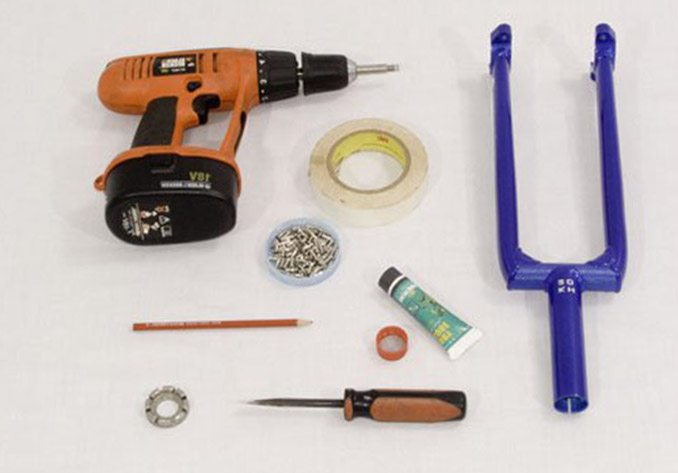
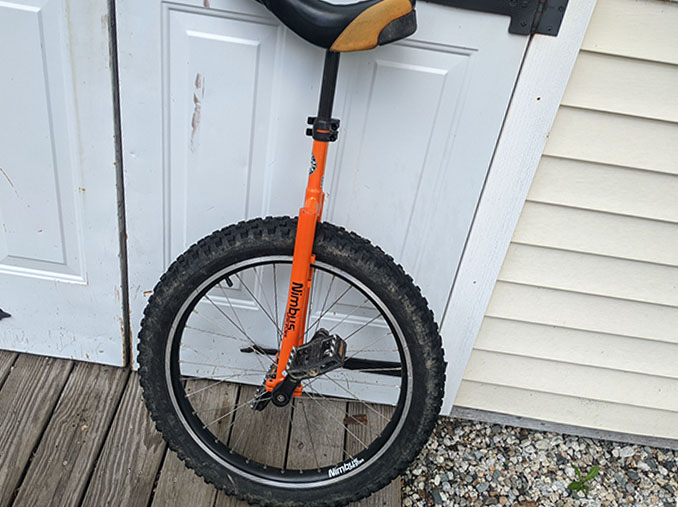
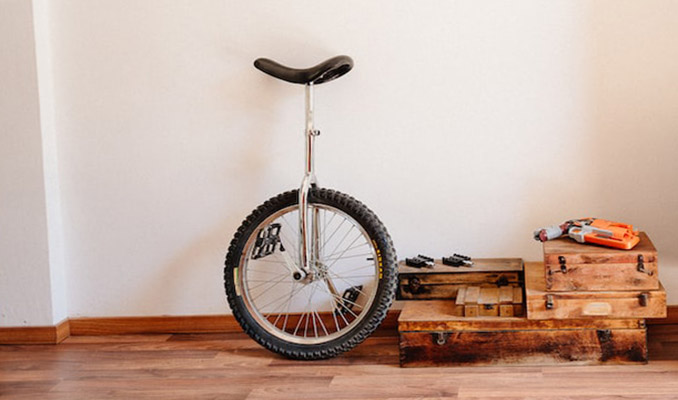
Tools to build Unicycle
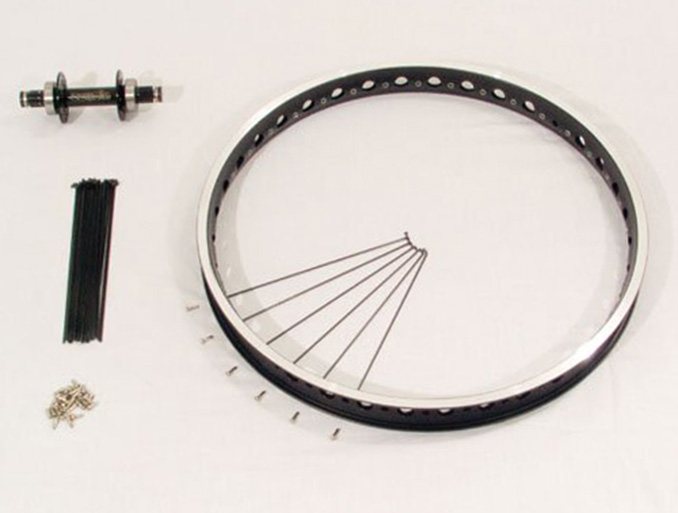
Components to build Unicycle Rim Hub Spokes Nipples
Step-by-Step Guide to Building Your Own Unicycle
Now that you have gathered your tools and materials, it’s time to start building your unicycle. Follow these steps:
Step 1: Assemble the Wheel
Begin by assembling the wheel. Attach the hub to the rim using the spokes and nipples. Make sure the spokes are evenly tensioned and the wheel is true. Use a wheel truing stand to ensure the wheel is straight and balanced.
Step 2: Install the Cranks and Pedals
Once the wheel is assembled, install the cranks and pedals onto the hub. Make sure they are tightened securely.
Step 3: Attach the Bearing Holders
Attach the bearing holders to the frame. Make sure they are aligned properly and tightened securely.
Step 4: Install the Fork Crown Race
Install the fork crown race onto the fork. This will allow the fork to rotate smoothly around the bearing holders.
Step 5: Install the Bearings
Insert the bearings into the bearing holders. Make sure they are seated properly.
Step 6: Attach the Wheel to the Frame
Attach the wheel to the frame by inserting the axle into the bearings. Make sure the wheel is centered and straight.
Step 7: Install the Seat Post and Saddle
Finally, install the seat post and saddle onto the frame. Adjust the height of the seat post to fit your height and riding style. Make sure the saddle is tightened securely onto the seat post.
Tips for Customizing Your Unicycle
Now that you have built your unicycle, you can customize it to fit your needs and preferences. Here are some tips:
- Choose the right wheel size for your riding style. Smaller wheels are better for tricks and maneuvers, while larger wheels are better for distance riding.
- Choose the right saddle for your comfort. There are a variety of saddle types available, from hard plastic to gel-filled.
- Customize the color and design of your unicycle with paint, stickers, or decorative tape.
- Add accessories such as lights, bells, or a water bottle holder to enhance your riding experience.
Maintenance and Repair of Your Unicycle
To ensure the longevity of your unicycle, it is important to perform regular maintenance and repairs. Here are some tips:
- Check the tension of the spokes and true the wheel regularly to prevent wobbling and ensure a smooth ride.
- Lubricate the bearings, pedals, and cranks to prevent rust and wear.
- Check the tightness of all bolts and screws regularly to prevent loosening.
- Replace any worn or damaged parts promptly to prevent further damage and ensure safety.
Safety Precautions for Unicycle Riding
Before you start riding your unicycle, it is important to take some safety precautions. Here are some tips:
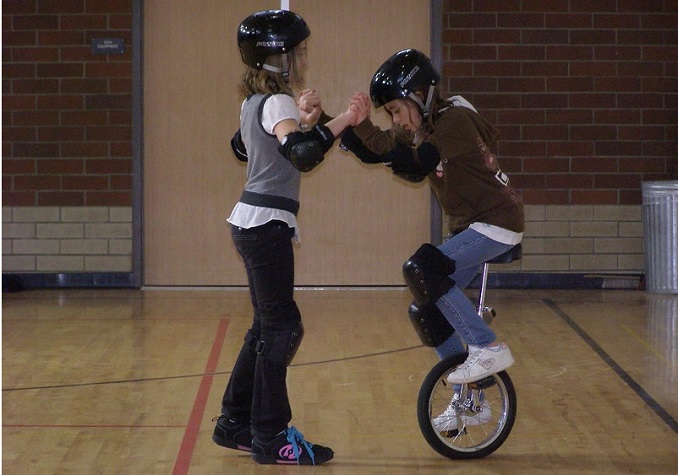
- Always wear a helmet to protect your head in case of a fall.
- Wear elbow and knee pads to protect your joints.
- Start in a safe and flat area to practice balancing and riding.
- Always be aware of your surroundings and avoid obstacles and hazards.
- Practice mounting and dismounting safely.
Joining the Unicycling Community
Now that you have built your own unicycle, you can join the unicycling community. Look for local unicycling groups or events in your area.
You can also connect with other unicyclists online through forums and social media groups. Joining the unicycling community can provide you with support, advice, and inspiration.
Resources for Finding Parts and Accessories
If you need to find parts or accessories for your unicycle, there are several resources available. Here are some suggestions:
- Your local bike shop
- Online retailers such as Unicycle.com, UDC, and Amazon
- Unicycling forums and groups
- Secondhand markets such as eBay and Craigslist
Frequently asked questions
Is it difficult to build a unicycle from scratch?
Building a unicycle from scratch requires some basic knowledge of mechanics, as well as access to the necessary tools and materials. While it may be challenging for someone with no prior experience, it is definitely achievable with some patience and dedication.
Can I use any type of wheel to build a unicycle?
You will need to use a specific type of wheel called a unicycle wheel, which is designed with a hub that allows for the attachment of the cranks and pedals.
How long does it take to build a unicycle?
The amount of time it takes to build a unicycle can vary depending on your experience level, the complexity of the design, and the availability of materials. Generally, it can take anywhere from a few hours to a few days to complete.
Can I customize the design of my unicycle?
Yes, you can customize your unicycle by choosing different materials, colors, and designs for the frame, saddle, and pedals.
Is it cheaper to build a unicycle than to buy one?
Building a unicycle from scratch can be cheaper than buying a pre-made one, especially if you already have some of the necessary materials and tools. However, it can also be more expensive if you need to purchase all of the materials and tools required.
Is it safe to ride a self-built unicycle?
As long as you follow proper safety guidelines and build your unicycle correctly, it should be safe to ride. It’s important to always wear appropriate safety gear such as a helmet and to inspect your unicycle regularly for any signs of wear or damage.
Can I build a unicycle even if I have never ridden one before?
Yes, you can still build a unicycle even if you have never ridden one before. However, it may be helpful to practice riding a pre-made unicycle first, so that you have a better understanding of how it works and what to look for when building your own.
Conclusion
Building your own unicycle is a fun and rewarding DIY project that allows you to customize your ride to fit your needs and preferences. By following this guide, you can build a quality unicycle that will provide you with hours of enjoyment.
Remember to take safety precautions and perform regular maintenance and repairs to ensure the longevity of your unicycle. Joining the unicycling community can provide you with support, advice, and inspiration. So what are you waiting for? Start building your own one-wheeled wonder today!
You can read more: Building a unicycle wheel – A guide to the amateur
